It can happen that a VMWare virtual machine (VM) runs out of space after a certain amount of time. If the installed Debian Linux (actually any kind of Linux) has been set up with LVM, resizing the partition is fairly easy.
This article assumes that the VM has been installed with just one root partition, but it can be applied to expand any kind of partition. If you are resizing a non-root partition, you do not need to reboot with a rescue disc. Unmounting that partition will be enough, but since this is impossible for the root partition, we will need to boot with a rescue disc.
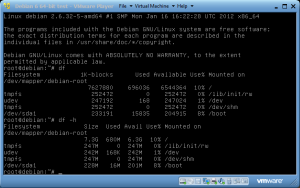
The first screenshot shows the actual partition size, in this example the partition is called /dev/mapper/debian-root and is currently 7.3G. /dev/mapper/debian-root is actually just a mapper name (alias), the real LVM partition name is /dev/debian/root.
Shutdown the VM using the ‘shutdown -r now‘ or ‘init 0‘ command.
Then start your VMWare Player and hit the ‘Edit virtual machine settings‘ button.
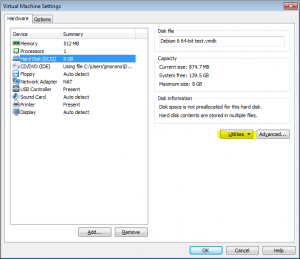
Choose the ‘Hard Disk‘ option, then hit the ‘Utilities‘ button and afterwards ‘Expand‘.
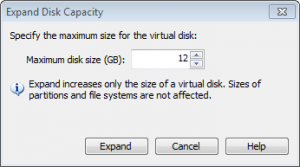
Resize the partition, in this example the new partition size is set to 12G (initialy 8G). Then hit the ‘Expand‘ button. A popup will follow after a succesful resize.
Now go to the ‘CD/DVD‘ section and choose an ISO to boot from, in this example the original Debian ISO is used.
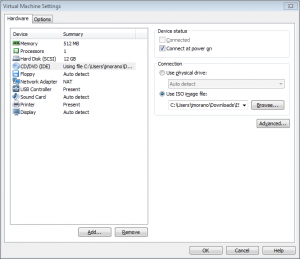
Press the ‘OK‘ button and boot your VM.
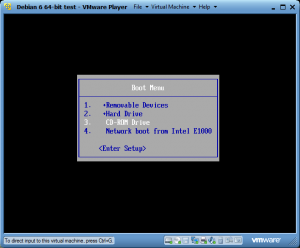
During boot, hit the ‘ESC’ button to go to the VMWare BIOS boot menu and choose to boot from ‘CD-ROM Drive’.
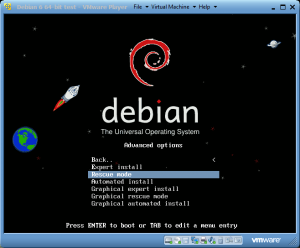
When the Debian boot loader appears, go to ‘Advanced Options‘ and choose ‘Rescue Mode‘ and then hit ‘Enter‘.
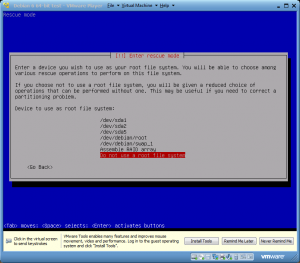
Go through the questions but at the end (you can answer with default questions, since we won’t be saving this settings. The only thing that is important is to choose to right kind of keyboard), choose not to use a root filesystem and finally execute a shell.
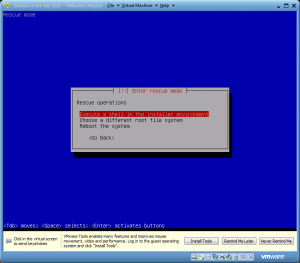
First a new partition needs to be created using the ‘fdisk‘ command. Since we will be adding a real partition to our LVM setup, we need to execute ‘fdisk /dev/sda‘.
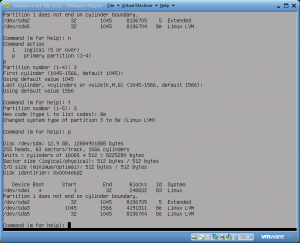
A reboot is required to enable the new partition table, so you will need to boot the ISO again (hit the ‘ESC‘ button during boot to get the ‘Boot menu‘) and boot into ‘Rescue Mode‘ mode. Don’t enable a root filesystem and open a shell.
Once the shell is back, execute ‘pvdisplay‘ to find out the ‘VG Name‘.
Now set up a new PV using the ‘pvcreate‘ command and extend the VG with the ‘vgextend‘ command.
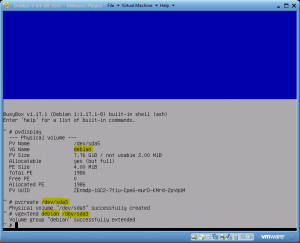
Use the ‘pvdisplay‘ command again to figure out the added size of the PV and then finally extend the LV.
Once the LV is extended, ‘e2fsck‘ needs to be run to clean up the filesystem and ‘resize2fs‘ to expand the filesystem.
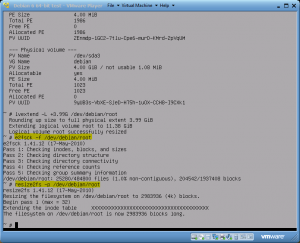
The resize process is complete. Reboot the VM to see your changes in your Linux OS.
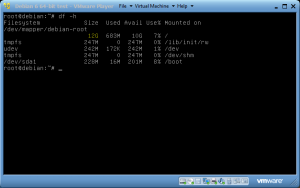


You can also enlarge the existing partition with
fdiskand usepvresizeto resize the physical volume. That way, you don’t end up with several concatenated partitions.Thanks for the tip!
Depending on your installation, you can also get a recovery shell from the grub menu, so you don’t need a CD. You will have to do the changes with the root filesystem mounted, which worked for me, except for fsck did not run. Was able to skip that step.